Email Ingestion Is Here
Clients shouldn't have to learn new software just to send you their documents. With email ingestion, they don't. Every template gets a dedicated email address. Clients send their documents as attachments, and FolioReady handles the rest — creating the folio, storing files, identifying the client, and notifying you for review.
No portal login. No form to fill out. Just email.
What's New
Ingest templates
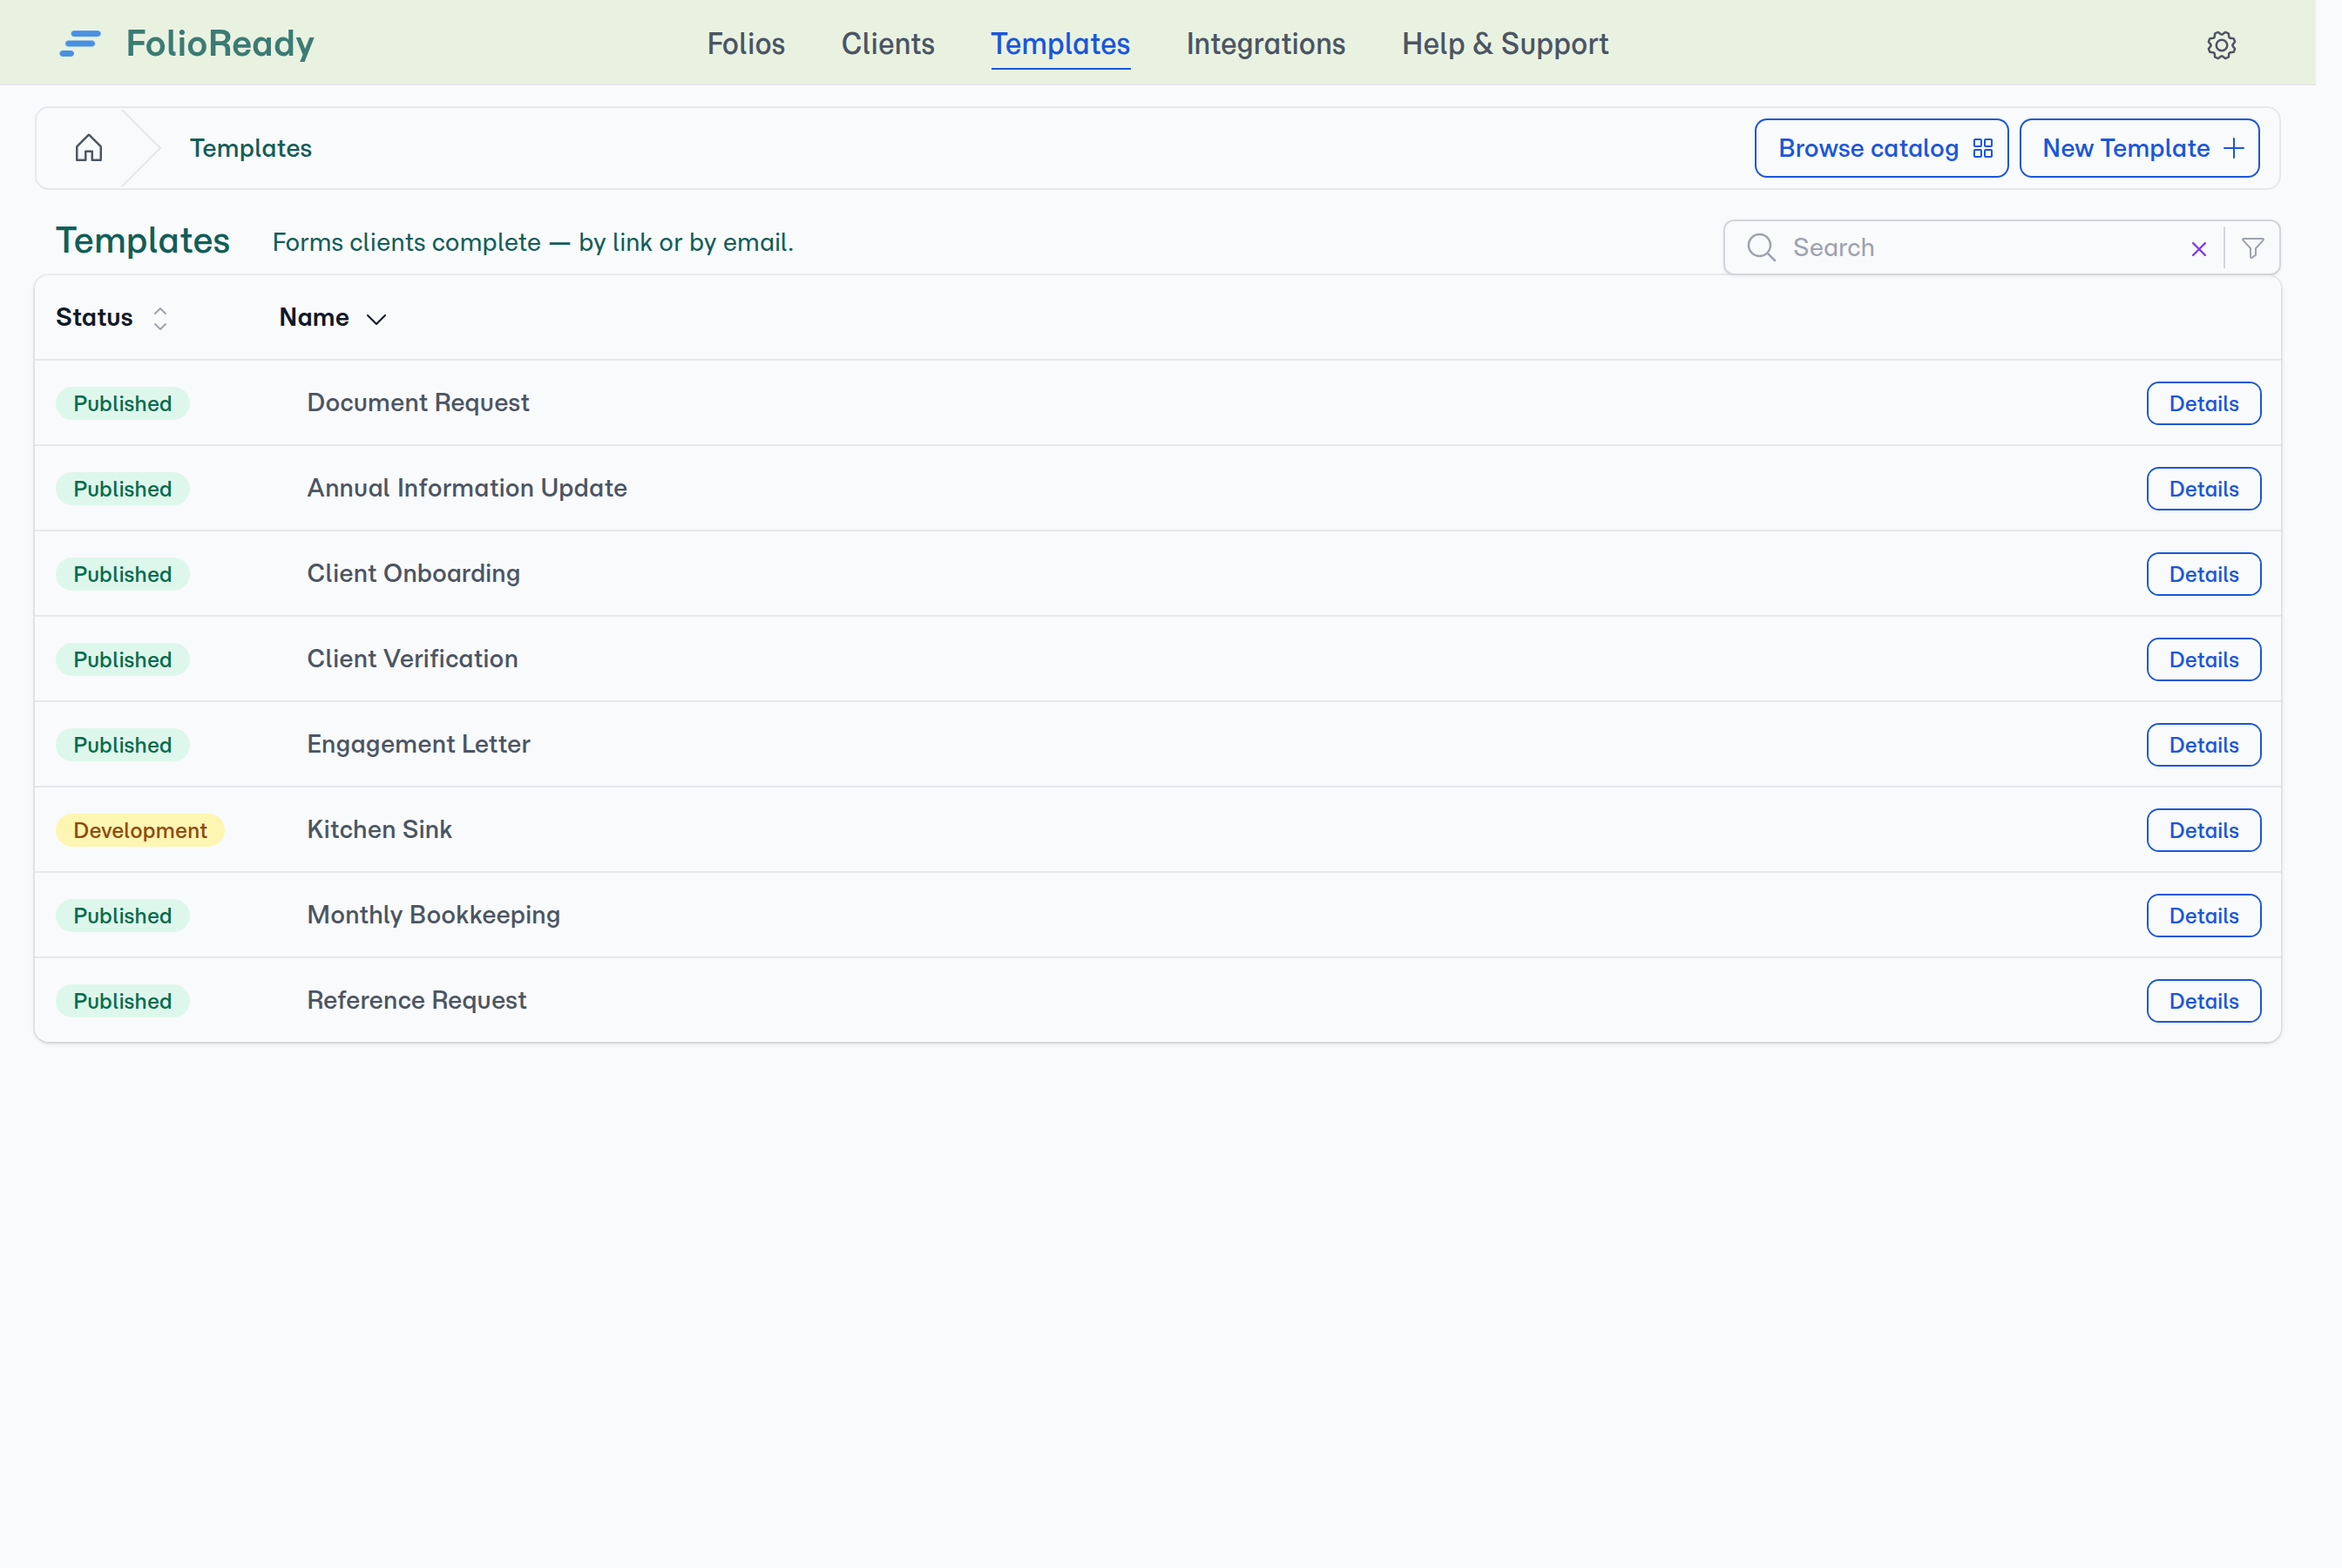
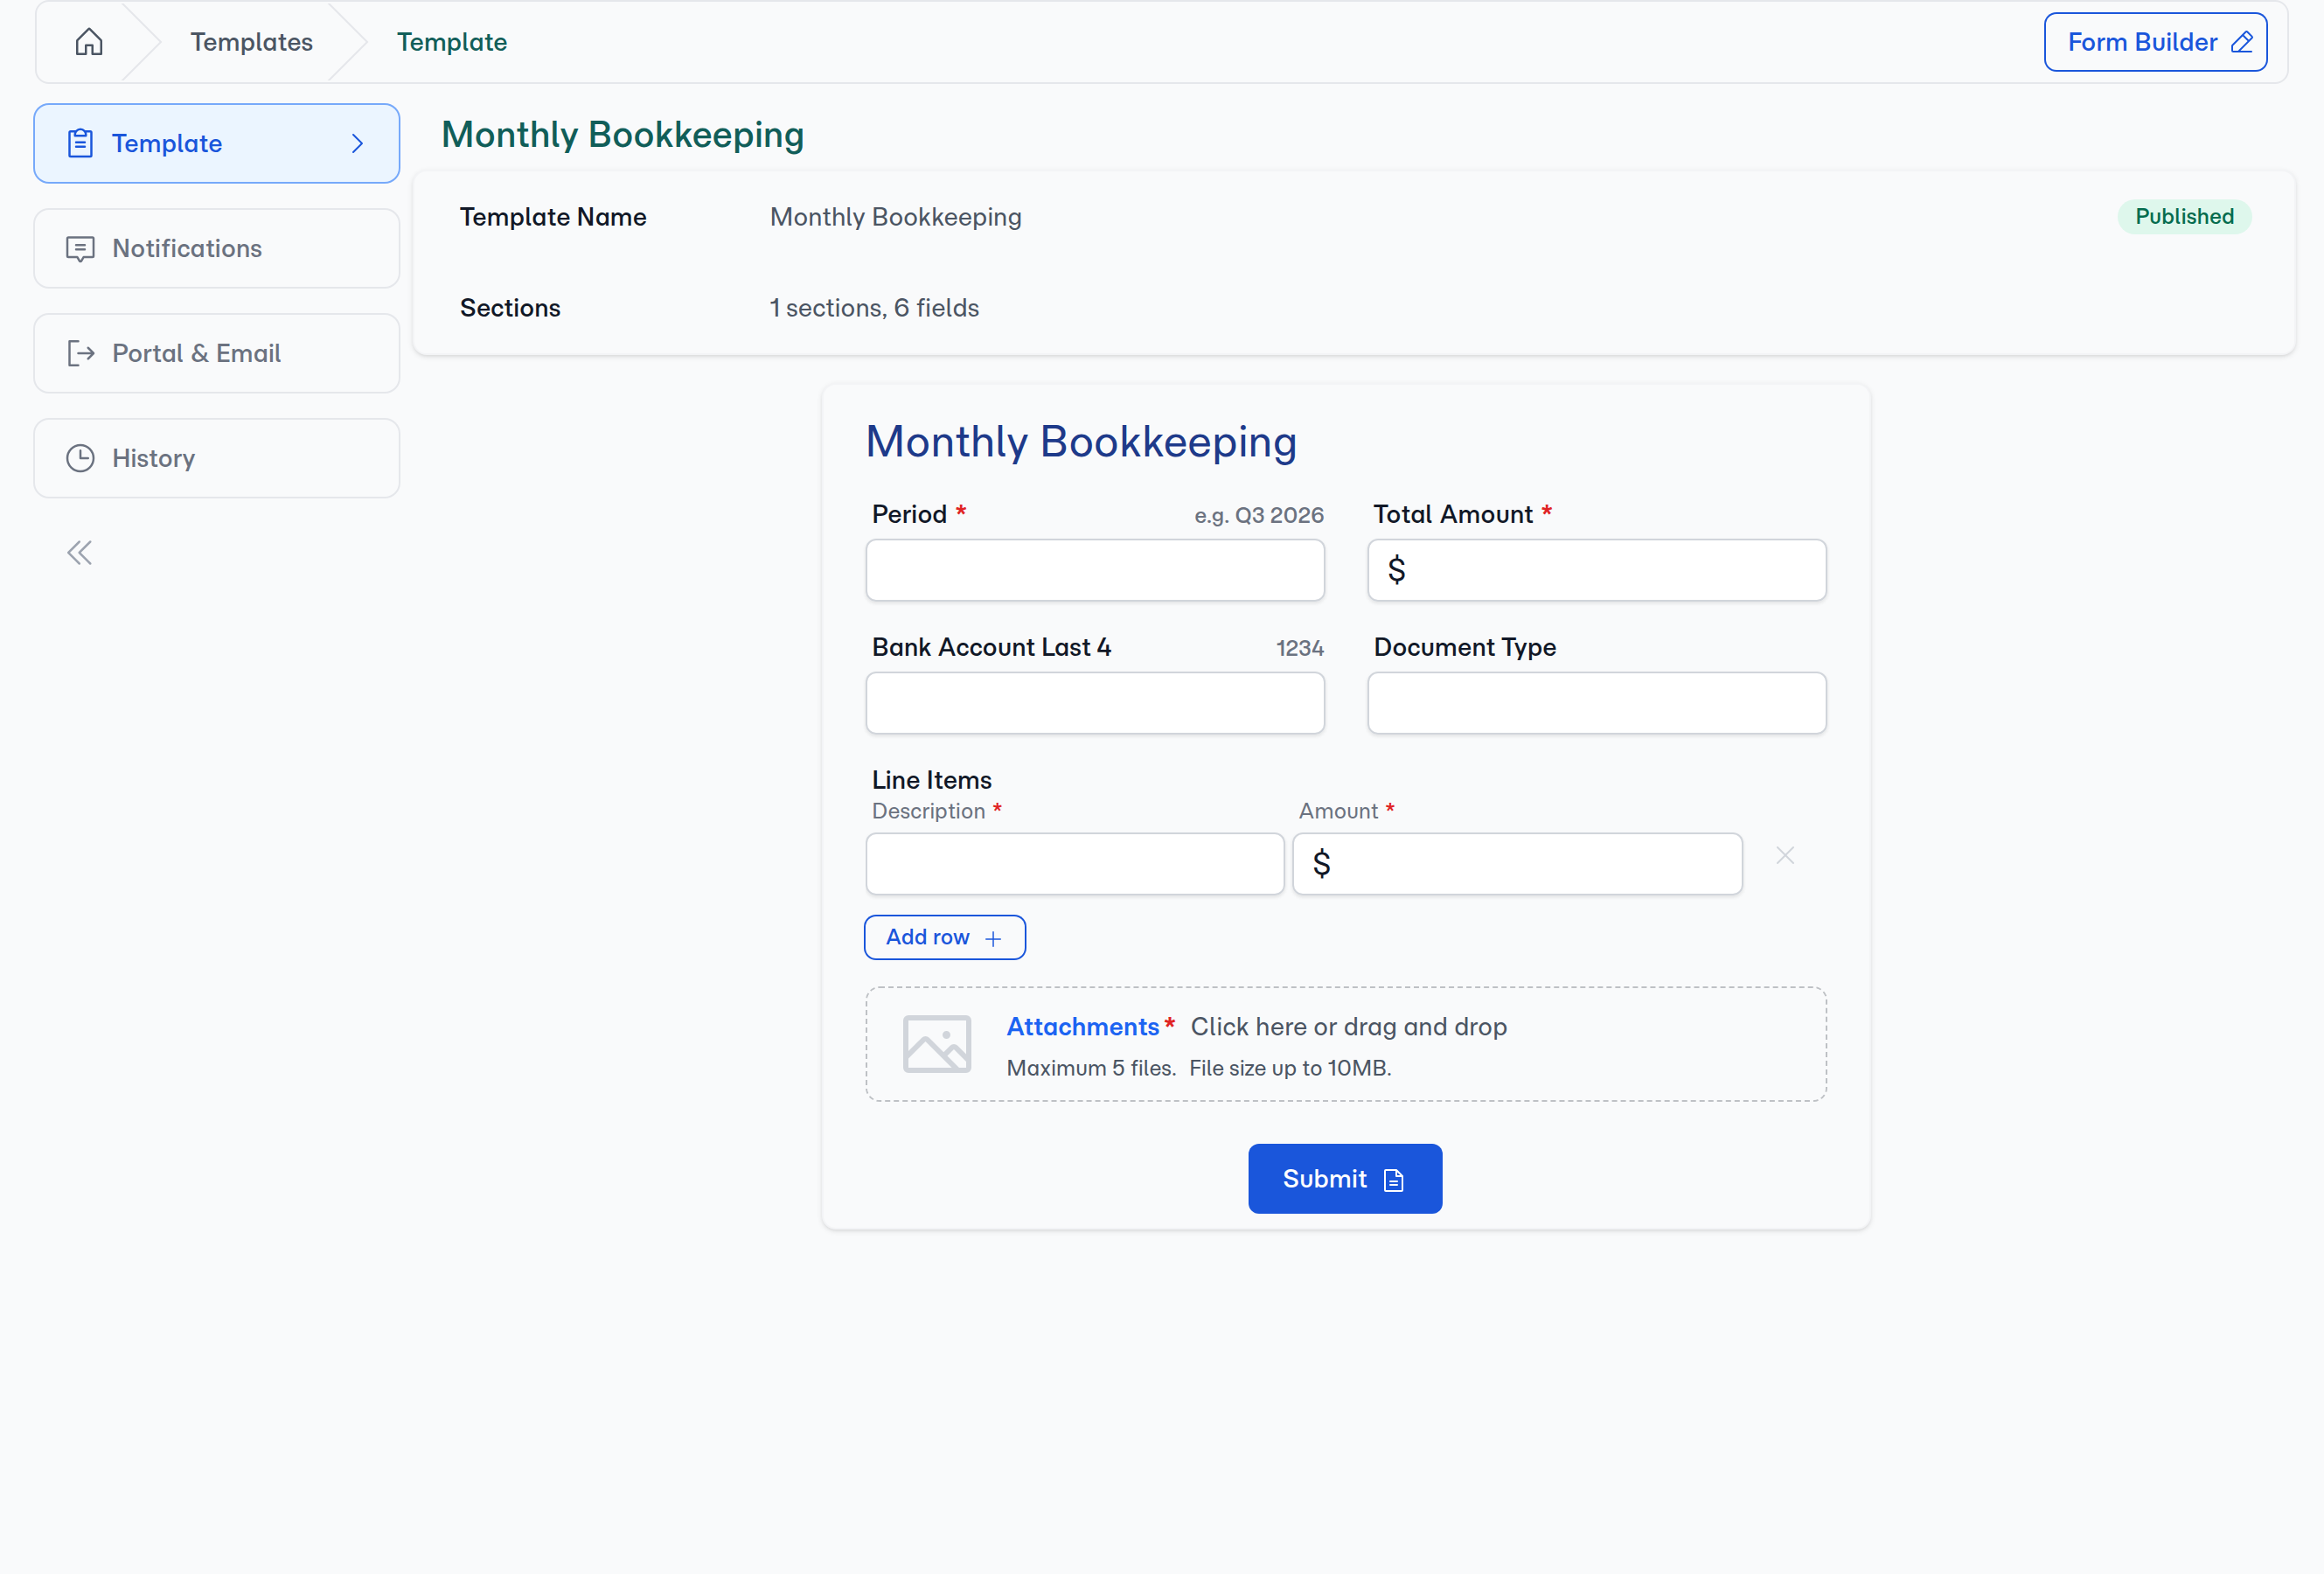
Templates support three collection modes: inbound (portal form), outbound (you send the request), and ingest (clients email their documents). Email ingestion isn't a separate template type — every template gets its own intake address, so any template can accept documents by email alongside its portal form.
Dedicated email addresses
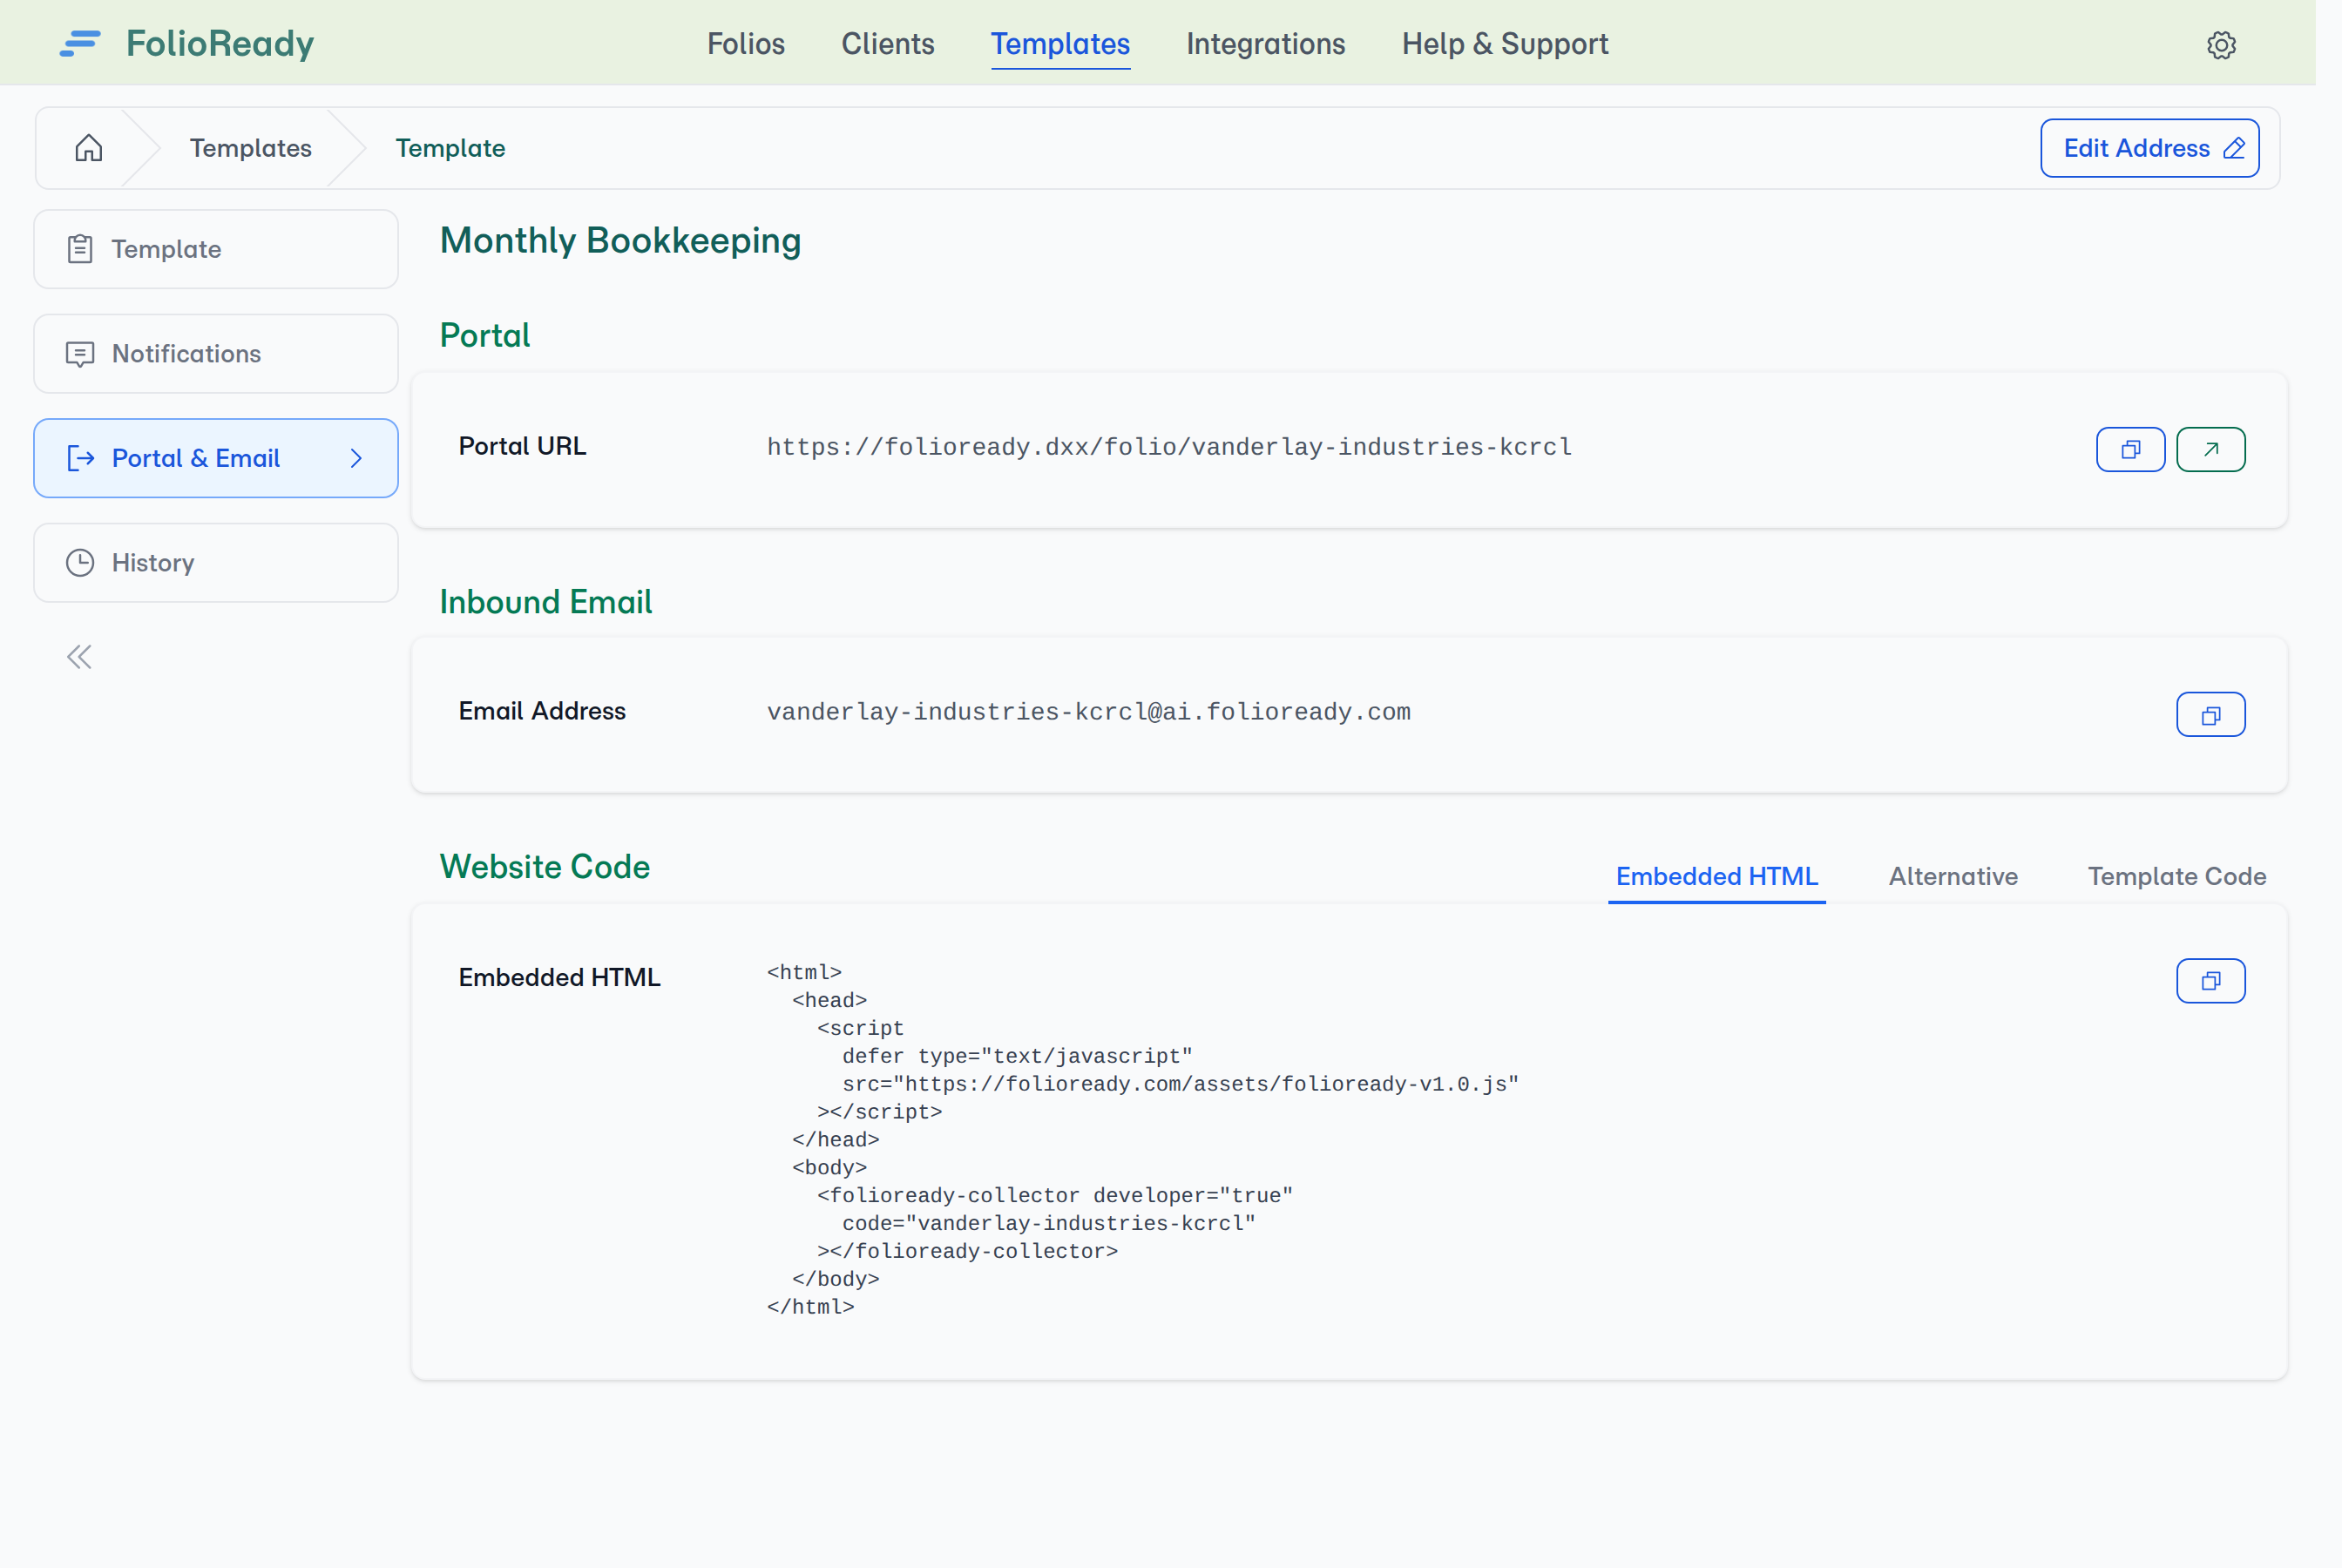
Each template gets its own email address — something like onboarding@ai.folioready.com. Share it with clients in your email signature, a welcome packet, or a follow-up message. Every email sent to that address becomes a folio under that template.
AI client extraction
When an email arrives, FolioReady doesn't just store the attachments. AI reads the email body to identify the originator — the person whose documents the email contains, not necessarily the sender. It extracts their name, email, and phone number, then matches them to an existing contact or creates a new one. The clean email text is stored in a hidden field on the folio for reference.
Automatic folio creation
The entire flow is automatic. Email arrives, attachments are stored, client is identified, folio is created, and you get a review notification. If AI extraction is enabled on the template, fields are populated from the uploaded documents before you even open the folio.
How to Use It
- Create a template (or open an existing one)
- Configure your fields in the builder
- Open the Portal & Email tab to see your template's email address
- Share the address with clients
- Documents start arriving as folios — review them as they come in
What's Improved
Inbound email management
The Portal & Email tab gives you full control over the email address. Use Edit Address to change the slug, copy the address to your clipboard, or regenerate it for a fresh one.
Related
- Email Ingestion — Full feature overview with setup details and comparison to portal forms
- AI Automation — How AI extraction works on uploaded documents
- Email Ingestion or Portal Forms? — Choose the right collection method for your clients